When it comes to outdoor lighting, the difference between a space that looks like it was “lit” and one that feels like it was designed is all in the planning. A thoughtful lighting layout does more than just make the yard visible at night — it accentuates architectural features, guides movement safely, creates mood, and protects from glare or overlighting. The key is layering light: ambient light for general areas, accent light for focal features, and task or pathway light for circulation. In this post, we’ll walk you through designing the perfect outdoor lighting layout – and highlight three standout fixtures from C2CLights.com that bring elegance, durability, and performance to your design.
1. Assess Your Space & Identify Key Focal Areas
Begin by doing a “walkthrough” of your space after dark (or imagine it). Ask yourself: What are the main features I want to highlight: a signature tree, water feature, or architectural façade? Where do people walk – walkways, driveways, stairs? Where is safety critical, such as steps or patio edges? Sketch a rough site plan and mark zones: paths, structural elements, garden beds, and hardscape walls. The goal at this stage is to prioritize what needs illumination and what can stay in subtle shadow.
2. Choose Lighting Types & Strategic Placement
With your zones in mind, match lighting types to purpose:
- Spotlights and uplights: Ideal for trees, columns, and textured walls. Use narrow beam spreads for crisp effects and wider floods for broader coverage.
- Pathway or area lighting: Even, low-glare illumination along walkways or patios. Avoid bright hotspots that distract from the rest of your landscape.
- In-ground or well lights: Perfect for flush, clean washes from below — for walls, facades, or vertical surfaces.
When selecting beam spreads, think about both distance and width. A narrow beam works well for distant accenting; wider floods cover more area but risk spilling light where you don’t want it. Also carefully choose color temperature – warmer whites (around 2700–3000 K) tend to feel more inviting in residential landscapes.
3. Balance Light & Avoid Glare
One of the most common outdoor lighting mistakes is over-lighting or creating harsh shadows. To avoid that:
- Use shields, louvers, or glare guards to prevent light from shining into eyes.
- Angle lights downward whenever possible.
- Avoid sharp contrasts between very bright and dark areas — transitions should be gradual.
- Keep brightness proportional to context; not every fixture needs to be a “hero light.”
Well-designed layering allows your eye to move comfortably from one feature to another, creating a natural sense of depth and calm.
4. Recommended Fixtures & Best Uses
Here are three exceptional fixtures from C2CLights.com that serve unique roles in a layered lighting layout – along with tips for how to use them effectively:
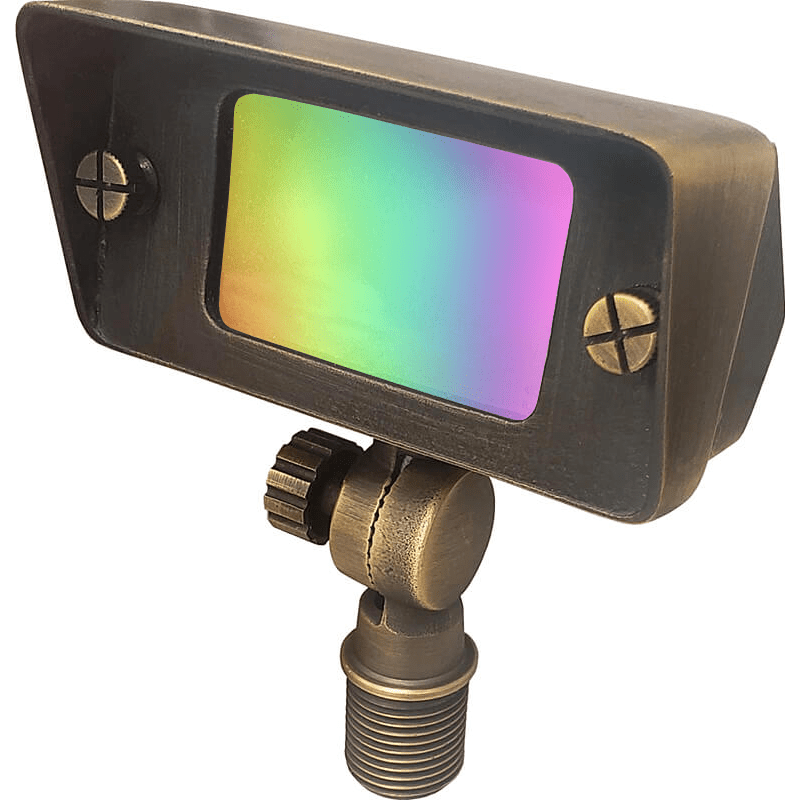
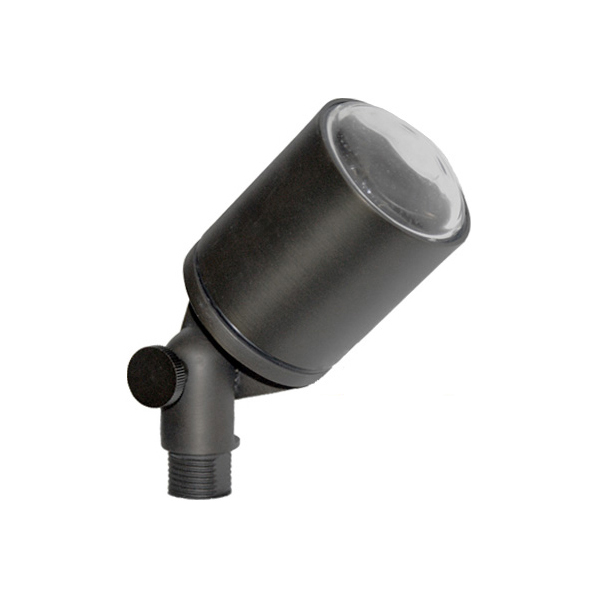
- Little Fox Cast Brass Spotlight This compact spotlight is made of solid cast brass with tempered glass and an IP67 weatherproof rating. Use this as a crisp accent light for medium-sized shrubs, statues, or architectural highlights. With optional narrow or flood beams and multiple voltage choices, it’s flexible enough to layer in detail lighting without overpowering the scene.
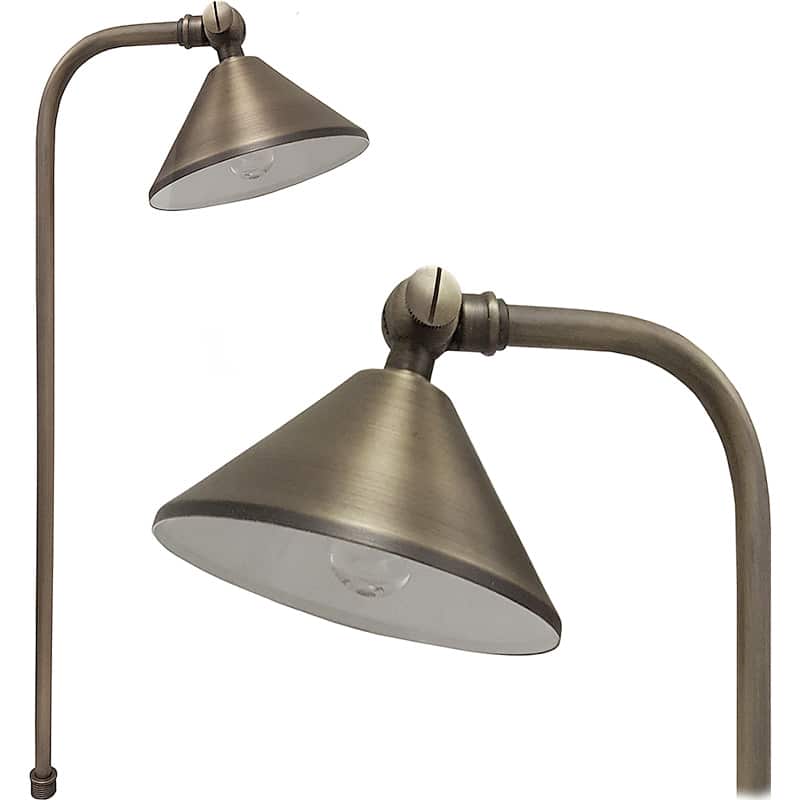
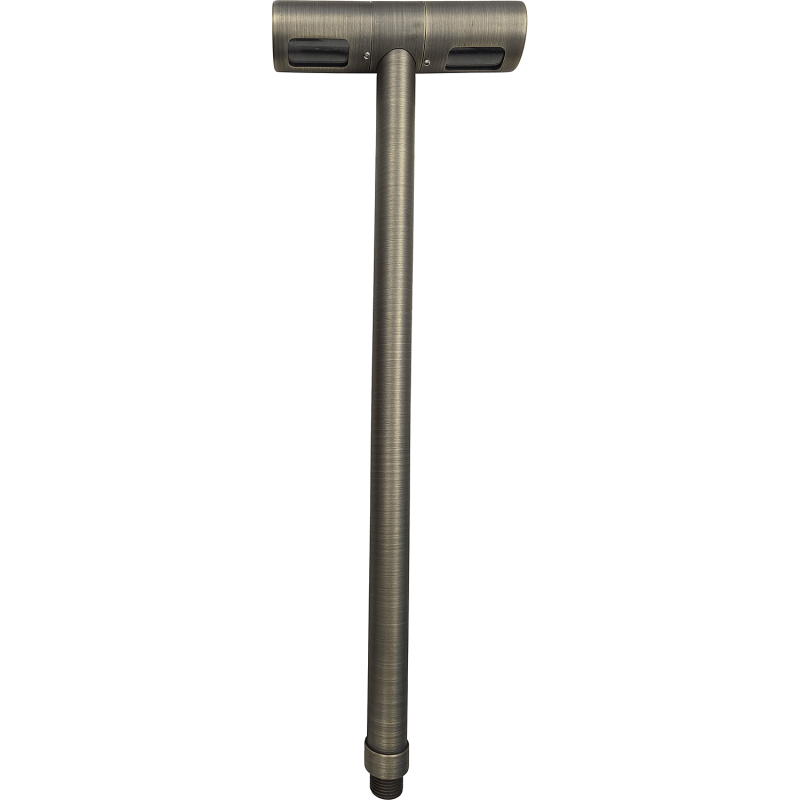
- Santa Ana 2-Head Contempo Brass Path Light
This dual-head pathway fixture offers adjustable heads that rotate a full 360°, constructed from heavy-duty cast brass and built to last. Use it along walkways, garden edges, or driveways. The two heads let you aim in different directions — one along the path and one outward to accent nearby landscape features — blending functional and decorative lighting beautifully.
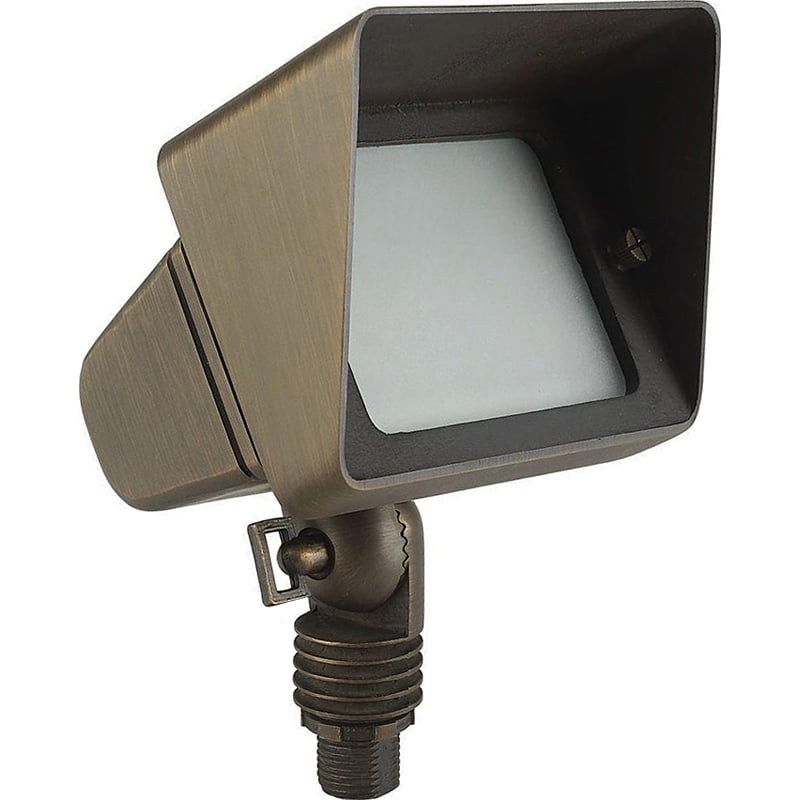
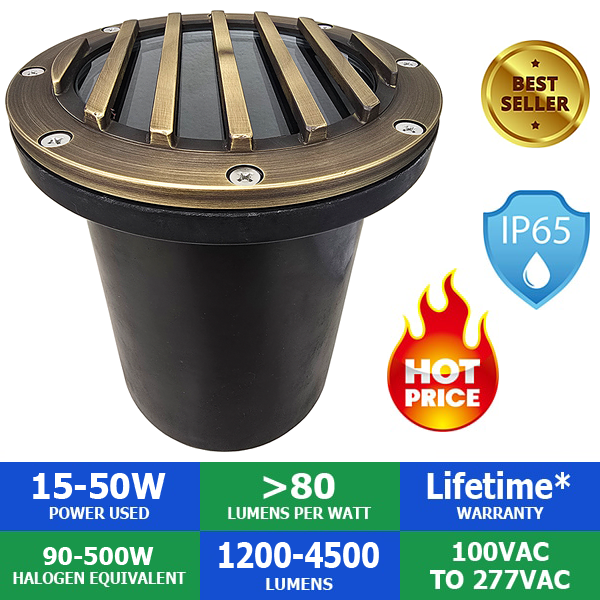
- Large Louvered Brass Well Light
This in-ground fixture features a durable cast brass top, fiberglass composite housing, and IP67 protection for long-lasting performance. Choose from multiple lumen outputs and beam angles for precise wall or façade illumination. It’s a perfect “foundation” fixture: hidden in the ground, it delivers a clean, flush uplight effect for facades, columns, or textured stone walls.
By combining these three – the Little Fox for accenting, the Santa Ana for path and garden areas, and the Large Louvered Well Light for broad architectural washes – you can create a cohesive, balanced outdoor lighting design that looks stunning night after night.
5. Wiring, Controls & Practical Considerations
Once your fixture layout is mapped, plan your wiring and control zones. Use the appropriate wire gauge and transformer sizing for 12V systems, or mains voltage where needed. Keep wire runs as short as possible to minimize voltage drop. Zone your lights so you can operate different areas independently – for example, separate controls for pathway lighting, accent lighting, and façade lighting. Dimmers or smart controllers can further enhance flexibility, allowing you to fine-tune brightness and timing for every mood.
Why Shop C2CLights.com?
A truly great outdoor lighting setup feels seamless – it guides your eye, highlights beauty, and creates a sense of depth without drawing attention to itself. Start with a clear design plan, choose high-quality fixtures, and layer your lighting thoughtfully. The Little Fox Cast Brass Spotlight, Santa Ana 2-Head Contempo Brass Path Light, and Large Louvered Brass Well Light are ideal building blocks for a layout that’s elegant, functional, and built to last.
Ready to elevate your outdoor lighting design? Visit C2CLights.com to explore these products and discover even more high-quality LED lighting solutions for your home or landscape.